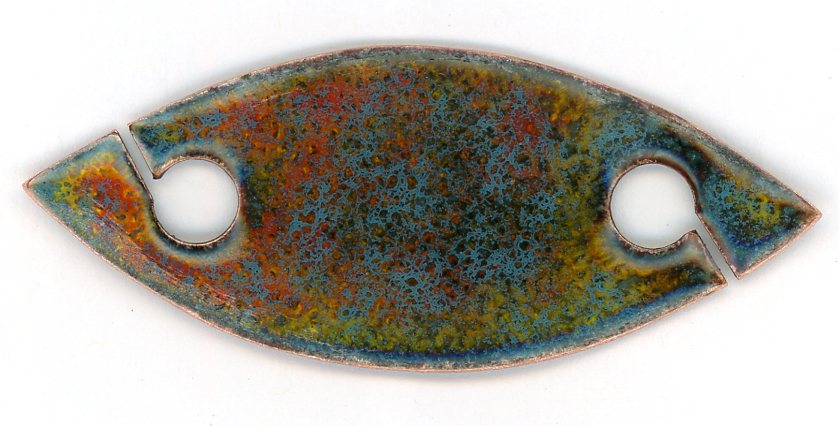
I have been trying for quite some time to create ‘crackle’ effect in my enameled shuttles. Just recently I have been able to achieve some success.
The technique of ‘enamel crackle’ is fickle. It’ more of an art than a science, but in actuality it’s relies on a lot of physics that really are not completely understood. Each color of enamel has different properties that may vary from batch to batch.
Getting crackles in your enamel depends on the use of at least two layers of different enamels which have different coefficients of expansion (COE)–told you physics was involved. The crackle effect is produced using a base coat of enamel with a very low coefficient of expansion (which means it flows/ moves readily sooner than other enamels would at the same temperature). After firing this ‘lower COE’ enamel, a top coat of usually two different colors of enamels with a slightly higher COE is applied and fired to a high temperature for a longer period of time. If the enameling-gods are with you, you will get a ‘crackle glaze’ look!

Watch for future posts of the crackle enamel tatting shuttles I have been producing. I will also be posting on my FB page: ShuttleSmithTatting