Monthly Archives: October 2014

Tatting Corner Tatting Workshop–I’m going!!!

I have just made up my mind that I AM GOING to the Tatting Corner Tatting Workshop in the Indianapolis, IN area.  The weather looks like it should behave itself and allow for OK driving conditions.  My good tatting friend, Jennifer Bartling has agreed to accompany me, so that will be fun!  The workshop is next Thursday, November 6 thru 8th.  So we will leave on Wednesday for the 9+ hour drive.

Looks to be a good time.  Last time I talked to Jennifer Titus (yesterday) she said it looks there will be 50 tatters there.  Woo hoo!  Now were talking a good time!

Check it out at:  www.tattingcorner.com


Fall Glass/Copper Enameled Tatting Shuttle

I forgot that had these shuttles.  I almost missed out on finding them a ‘home’ for the fall season.

If you are interested in purchasing them, email me and state your intention.  I will send you a PayPal invoice.  Postage is free to the US.

Email:  k.bovard@yahoo.com

170x
Fall Leaf- Glass/Copper-Enameled Tatting Shuttle–$40.00

I also have two ‘summer’ leaf shuttles:

169x
Summer Oak Leaf–Glass/Copper-Enameled–$35.00
169b
Backside of Summer Oak Leaf
171 z
Summer Elm Leaf–Glass/Copper-Enameled–$35.00
171b
Backside of Summer Elm Leaf

Quilt-Inspired SRT

I mentioned in my last post, that I was TRYING to finish my latest tatting book titled Block Alphabets in Split Ring Tatting but the truth is, I’m not that inspired to go the final stretch right now.  The problem is that the ‘fun’ part is is done—the designing and tatting, and what is left to be done is the computer work.   Plus, in the meantime I have been given the ‘excuse’ to go in a totally new tatting direction….one that I really have been having fun with!!!! 

The new design concept is Quilt-Inspired Split Ring Tatting. 

DSCN1117

This (& another tatting technique concept that I will introduce at a later point in time) is what I will be working on for the next year because I have been contracted to teach at the 2015 IOLI Convention in Iowa!!!  I am soooooo excited!!!  I have been having soo much fun turning quilt-inspired designs into tatting in the last couple of weeks.  Now I am starting to tat them up.

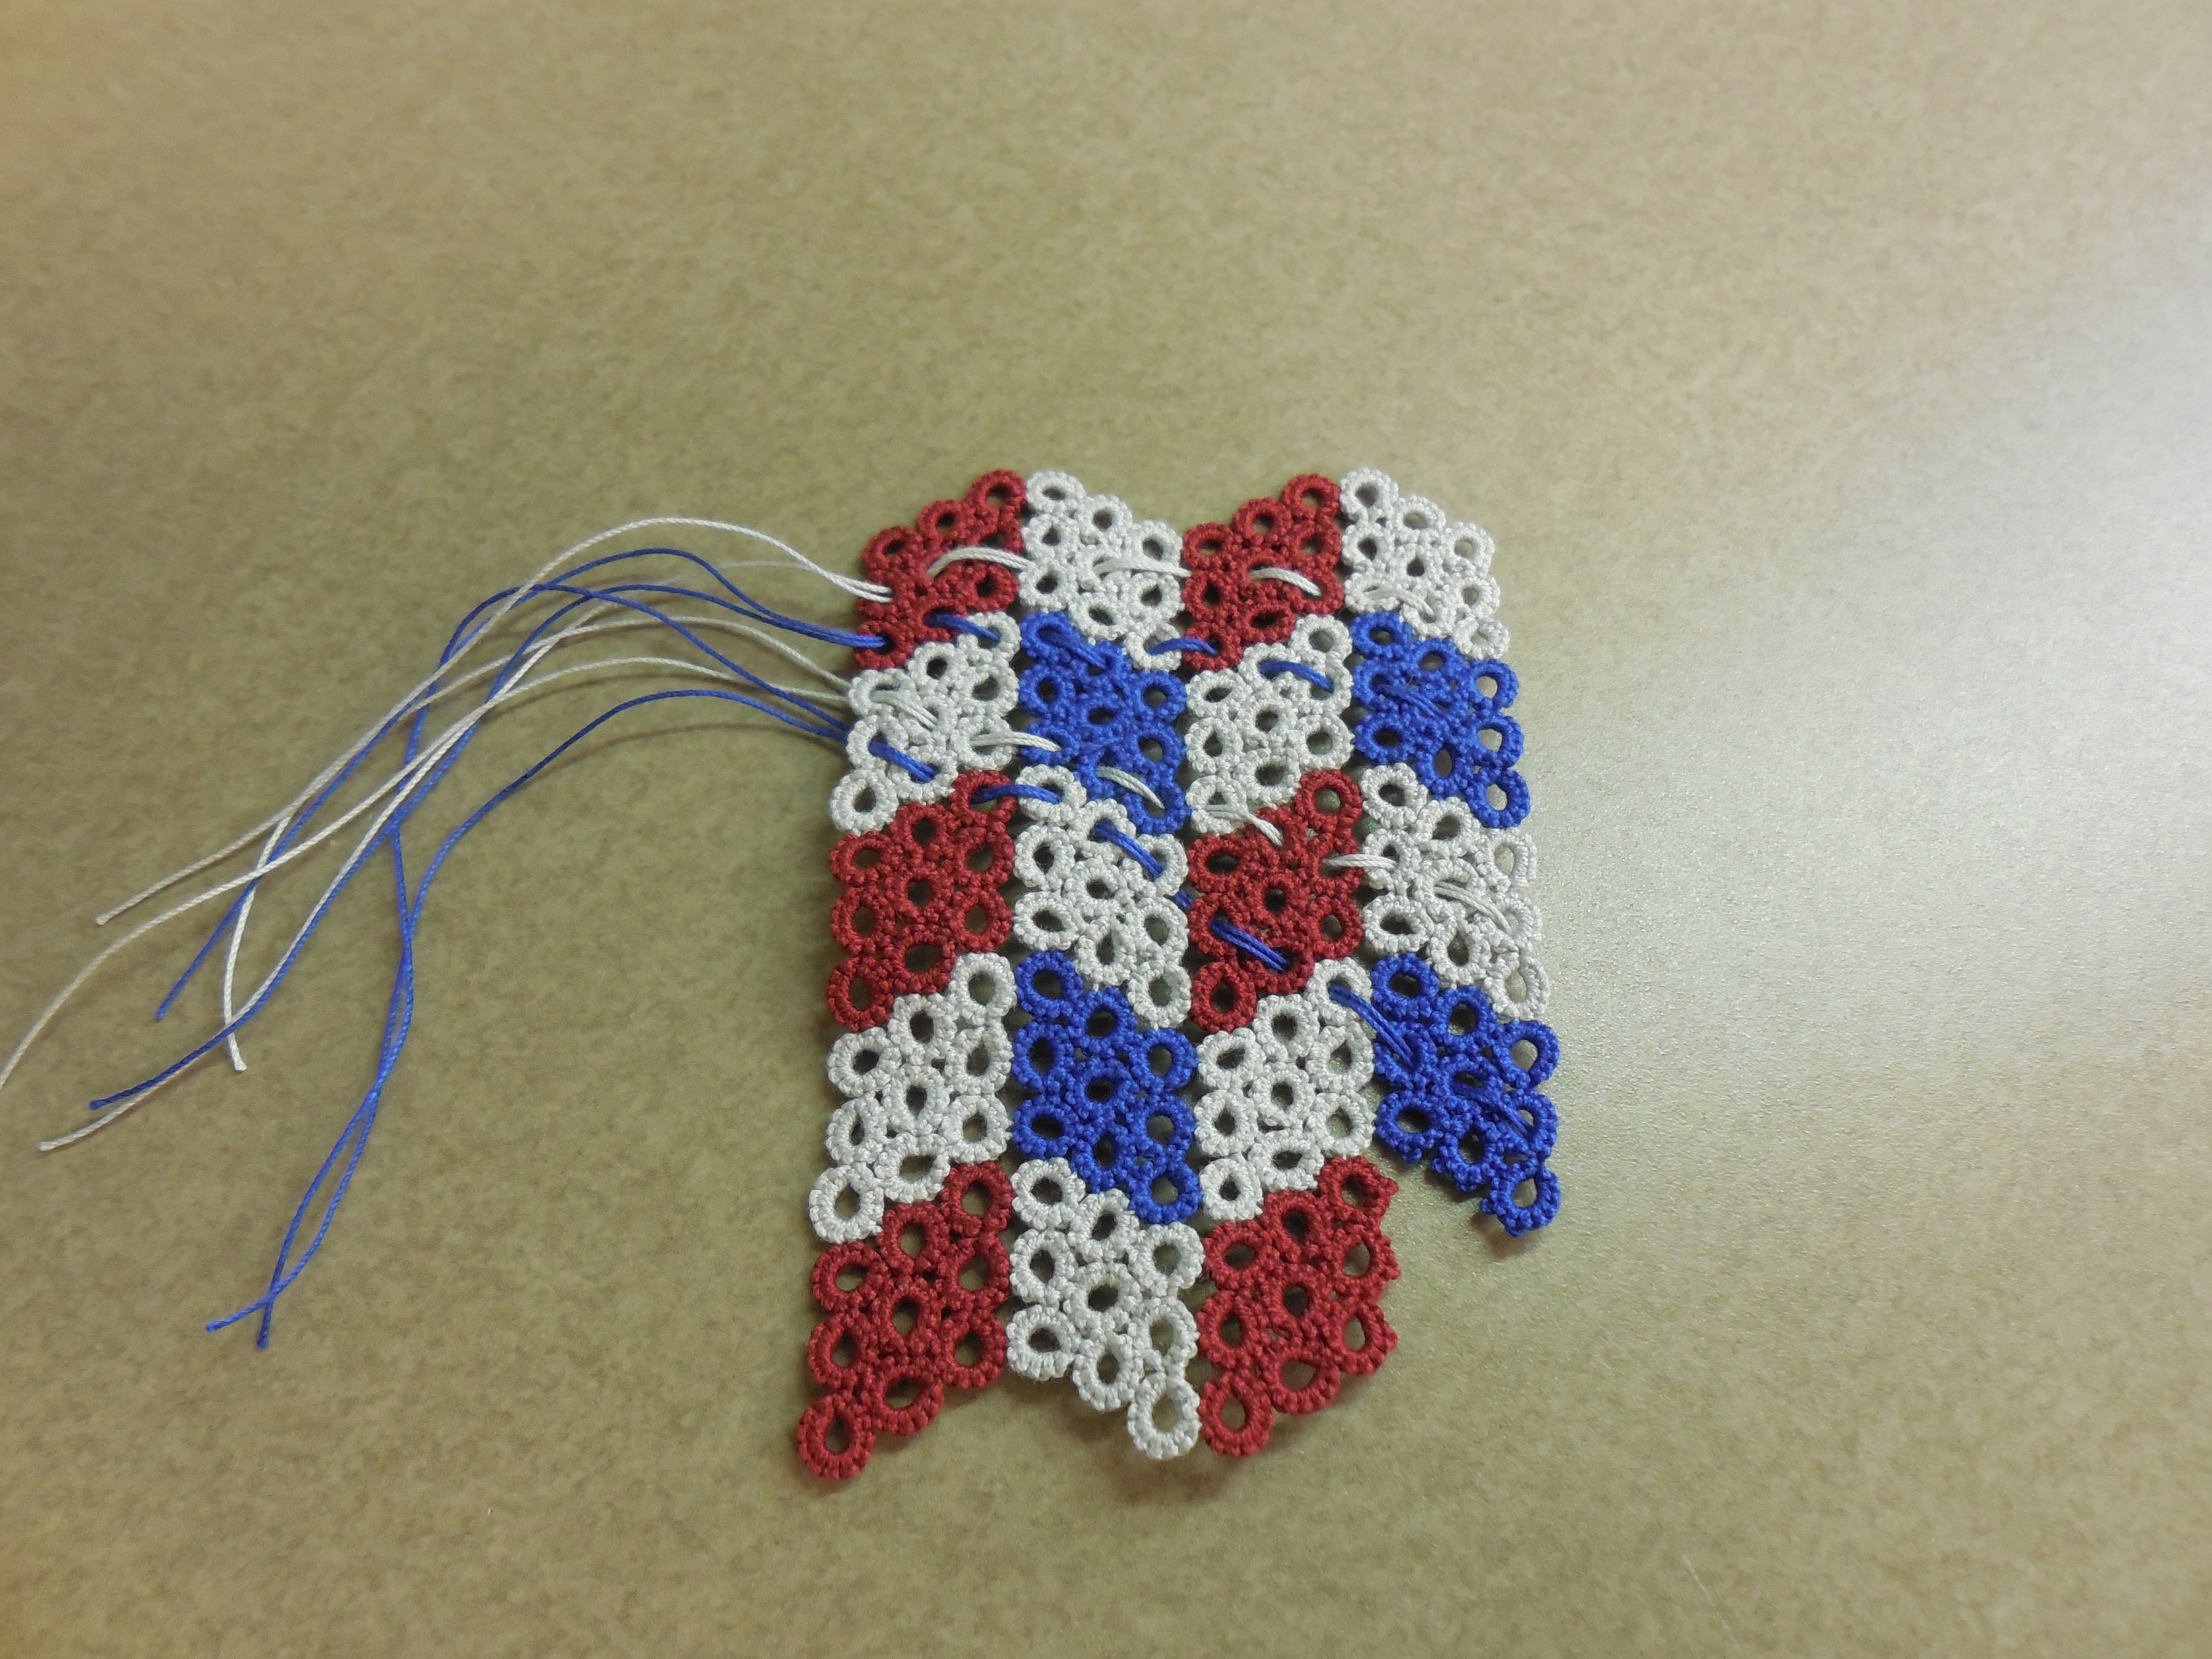
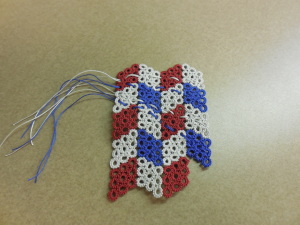
The photo in this post is ‘a work in progress’.  I have one motif to go and thread ends to finish but I decided to post it anyway.  I seem to never have tatted pieces in the right (finished) stage to include in my blog posts, so I decided to just post what I have, where I’m at in the process.

This design is based upon diamonds, a common ‘block’ in quilted designs.  I have a whole bunch of designs created in my ‘Diamonds’ category.  This is just one.

Right now, I have 4 different ‘styles’ of Quilt-Inspired Split Ring Tatting designs worked up (many still on paper).  In the next couple of weeks, I will be striving to tat up at least one example of each style for inclusion in the IOLI website advertising the classes for next August’s convention.  Unless I get criticism from the IOLI Convention Committee, I will give you peeks at what I’m doing here on this blog.

In the meantime, I’m having alot of fun designing and tatting up my new creations.   I love order in my life and the repetition of tatting and of quilt blocks has been very soothing to me.

A note about my work-in-progress:  I have one more motif to tat.  You can see thread ends woven through the finished motifs and exiting out of the the left side of the piece….my working ‘strategy’ is to work a row (in this case top to bottom) and then finish threads ends either at the end of a row or when the piece is completely finished.  To keep the ends from annoying me all the time while tatting the piece, I ‘weave’ the ends through the body towards a side away from where I am still working.

My posts absence

I HAVE been busy with Tatting related stuff…honestly, even though I haven’t been posting here.  Sometimes I get bogged-down thinking that I ‘have’ to have a photo of something to be able to post to my blog.  That thinking is what constrains me from posting.  It’s not always easy to have a picture of something available to go along with a post concept.

Since I got back from Palmetto Tat Days (over a month ago) I have been busy trying to get my third tatting book ready to go to print.  The title is:  Block Alphabets in Split Ring Tatting.  It features 2 alphabets and their corresponding letters in different ‘fonts’.  There are also ‘frame’ patterns to go around the letters/numbers.  I am trying to keep the number of pages down in this book to make it cheaper to purchase.  I’m shooting for the $15 range.  I have all the patterns illustrated and have several designs tatted up to show how the letters and numbers can be used.  However, my hold-up is writing the guide to my illustratrated pattern-writing style….the how-to of reading and using my illustrated patterns.  I am confident that once the tatter understands how to read and use my patterns they will come to appreciate how much information is there to guide them easily through what looks like an intricate pattern.  I pack alot on information into my illustrated patterns:  which shuttle to use to tat various rings and parts of the ring, which part of a split ring to tat first/last to be able to effectively use regular joins and create Take-Off Rings, how to work your way through a patterns in one round without ‘tatting yourself into a corner’.

However, I get easily side-tracked from completing this book because I have so much fun creating new designs and physically creating a piece by tatting them into thread.

New post, I will tell you about my direction for my next tatting book:  Quilt-Inspired Split Ring Tatting Designs!!!

My latest purchase

PolkaSpiderWebLoom1This is my latest ‘impulse buy’ from Ebay.  I also study, make, and teach Teneriffe/Sol/Nanduti Lace.  This kit was sold under the name of Polka Spider Web Lace but it creates Teneriffe/Sol Lace.  I have two books by the same title and this was the kit to create the lace.

In Teneriffe Lace, individual motifs are created and then sewn together to make a bigger piece.

The brown, round things are the ‘forms’ upon which the lace was made.  How the forms were ‘laced up’  allowed you to either make round (the big circle) or square motifs (seen on the little form).  The cool part about having the books and now the forms is that there are patterns to follow to create pieces easily–no math involved.

The other interesting thing about owning these forms is that they came with Teneriffe Lace piece completed and motifs in progress.  I learned that two motifs can be completed at the same time…one on the front of the form and one on the back at the same time.  When both pieces are completed (stitched) the lacing threads are cut, allowing the lace motif to disingage from the form and be a free-standing piece of lace.  The lacing threads are the darker threads seen on the edges of the big, round form.  The small form uses white lacing threads to form the base for the square motif.